I’ve always been a fan of braids. From cornrows to box braids, I love the versatility and style they bring to my natural hair. But as a woman with mixed textures and colors in my hair, I’ve struggled with finding the perfect blend for knotless braids. That’s why I’ve dedicated myself to mastering the art of creating a seamless and natural-looking braid blend.
Table of Contents
In this article, I’m going to share with you my tips and tricks for creating the perfect knotless braid blend, no matter what your hair texture or color may be. We’ll cover everything from understanding hair textures and prepping the hair to choosing the right colors and braiding techniques.
So, if you’re ready to elevate your braid game and achieve the perfect blend, keep reading!
Understanding Hair Textures
We’re delving into the different types of hair and how they can be combined for a seamless look. Understanding hair porosity is crucial when it comes to creating a perfect knotless braid blend. Hair porosity refers to how well your hair can absorb and retain moisture.
High-porosity hair can take in moisture fast but it also goes away quickly. Low-porosity hair takes longer to get moisture, but it will stay longer. When choosing what textures to use for your hair, remember the porosity of your hair.
Different types of hair textures also play a significant role in achieving a knotless braid blend. There are various hair textures, such as straight, wavy, curly, and coily. Each texture requires a different approach when it comes to blending.
For instance, if you have straight hair, you can combine it with wavy hair for a subtle blend. On the other hand, if you have coily hair, you can mix it with curly hair to create a more defined braid blend. Understanding hair textures is critical in achieving a natural-looking braid blend that flows seamlessly.

Prepping the Hair
Before getting started, it’s important to prep your locks for the braiding process. This involves taking pre-braid care steps such as washing and conditioning your hair, as well as detangling it thoroughly. You can use a wide-tooth comb or your fingers to gently remove any knots or tangles.
It’s also important to trim any split ends to prevent further damage and breakage during the braiding process. Protective styles such as knotless braids can promote hair growth by reducing manipulation and stress on your strands.
By taking the time to properly prep your hair before braiding, you can ensure a smooth, seamless blend between different hair textures and colors. With a little bit of patience and attention to detail, you can achieve a beautiful and healthy protective style that will help your hair grow and thrive.
Choosing the Right Colors
When it comes to choosing the right colors for your hair, there are a few things to keep in mind. First, you’ll want to choose colors that complement each other. This means selecting shades that work well together and enhance one another’s beauty.
Additionally, it’s important to choose colors that match your skin tone, as this will help your hair look more natural and flattering.
How to Choose Colors that Complement Each Other
To make sure your braid style looks amazing, you’ll want to pick colors that work well together. Understanding color theory and the color wheel can help you choose complementary colors that will blend seamlessly in your braids. Here are some tips to keep in mind:
1. Stick to warm or cool tones: Warm tones include reds, oranges, and yellows, while cool tones include blues, greens, and purples. You can mix warm and cool tones, but make sure they complement each other. For example, a warm copper color can look great with a cool blue.
2. Consider the contrast: High contrast can make your braids pop, so don’t be afraid to mix light and dark shades. However, make sure the contrast isn’t too extreme, or else it may look jarring.
3. Look at the big picture: Consider your skin tone, eye color, and overall style when choosing colors. You want your braids to complement your natural features and enhance your look, not clash with it.
By keeping these tips in mind, you can create a beautiful and cohesive braid style that showcases your unique style and personality

How to Choose Colors that Match Your Skin Tone
Choosing colors that flatter your skin tone is essential to achieving a stunning braid style that accentuates your natural beauty and radiates confidence.
Color matching techniques can help you find the perfect blend of hair colors that complement your skin undertones.
To determine your skin undertones, take a look at the veins on the inside of your wrist. If they appear blue or purple, you have cool undertones. If they appear green or olive, you have warm undertones. If you can’t really tell, you may have neutral undertones.
Once you have determined your skin undertones, you can begin selecting hair colors that will enhance your complexion.
If you have cool undertones, opt for cooler hair colors, such as ash blonde, platinum, or burgundy. If you have warm undertones, choose warmer hair colors, such as golden blonde, caramel, or auburn.
Those with neutral undertones can experiment with a wider range of colors, but should still aim to choose shades that complement their skin tone.
By taking the time to select hair colors that flatter your skin tone, you can achieve a knotless braid blend that truly makes you feel confident and beautiful.
Sectioning the Hair
Get ready to achieve flawless results by sectioning your strands properly for the ultimate braid experience. Proper sectioning and parting techniques are essential to achieving a seamless and natural-looking braid blend. Here are some tips to get you started:
– Start with clean and detangled hair to make the sectioning process easier.
– Use a rat-tail comb to create clean and even partings.
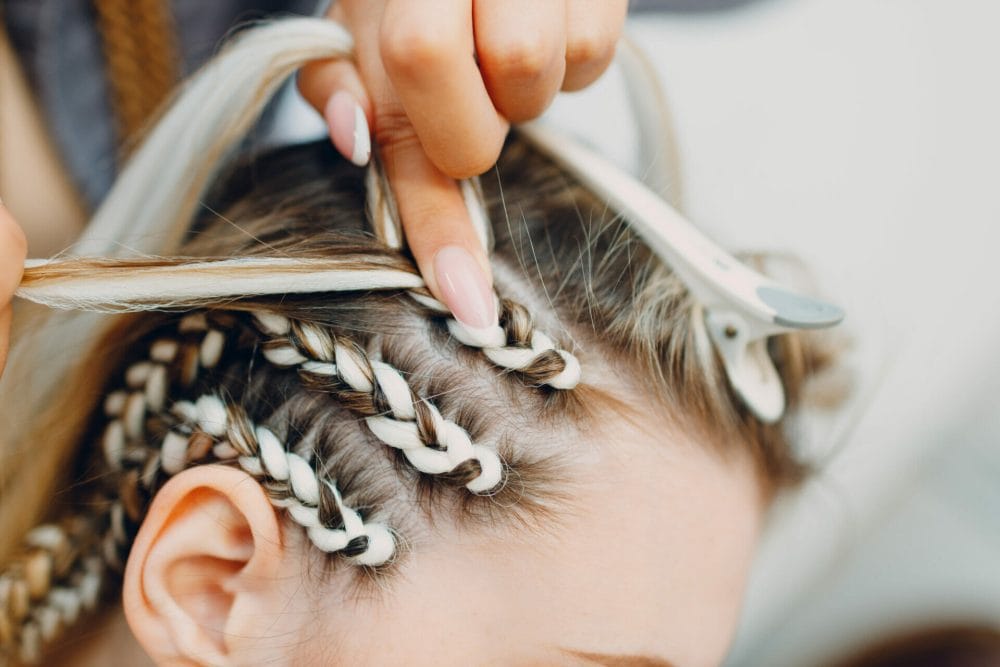
– Section the hair into small, manageable sections to make braiding easier and to ensure the braids are uniform in size.
– Clip away the sections you’re not working on to avoid tangling and confusion.
Taking the time to properly section and part your hair will ensure that your braids blend seamlessly and look natural. By following these simple tips, you’ll be on your way to achieving the perfect knotless braid blend.

Braiding Techniques
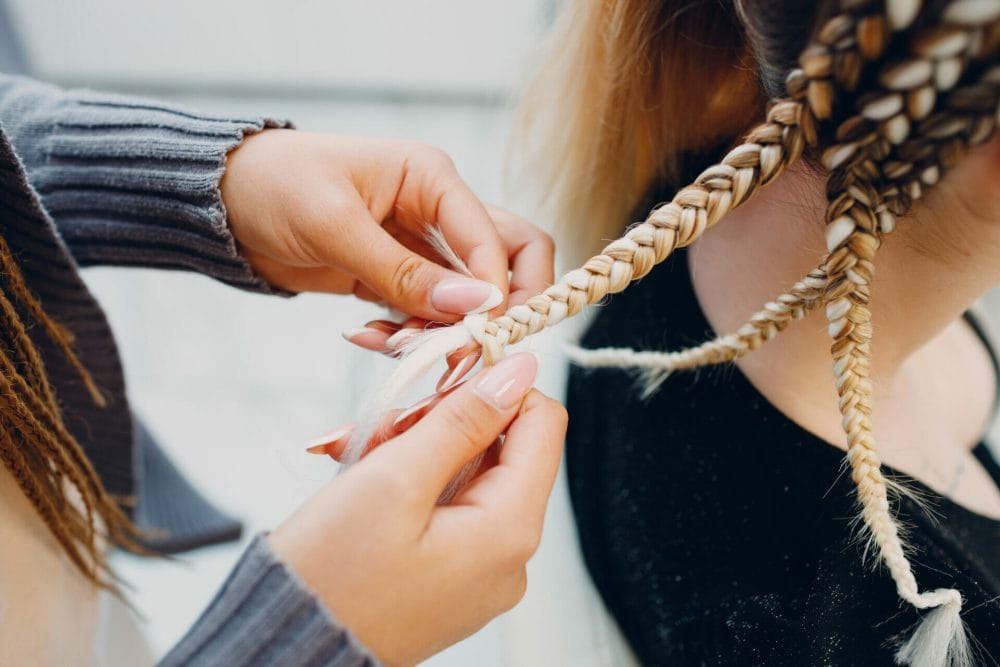
After sectioning the hair, it’s time to move on to the braiding techniques. This step is crucial in creating the perfect knotless braid blend as it determines the final outcome of the hairstyle. As someone who’s been braiding hair for years, I can confidently say that mastering different braiding techniques is essential in achieving the perfect blend of different hair textures and colors.
When it comes to braiding techniques, there are several options to choose from, including the traditional three-strand braid, two-strand twist, and the newer and more popular four-strand braid.
Each technique has its unique benefits, and choosing the right one depends on the desired outcome. For instance, the traditional three-strand braid is perfect for creating a clean and classic look, while the four-strand braid is ideal for creating a more intricate and detailed style.
By experimenting with different braiding techniques, you can create a blend that perfectly suits your style and personality. Additionally, braids are known for their protective benefits, making them the perfect hairstyle for those looking to protect their natural hair from harsh elements.
With various styling options available, you can achieve a stylish and protective hairstyle without compromising your hair’s health.
| Braiding Technique | Benefits |
|---|---|
| Three-strand braid | Classic look, easy to create |
| Two-strand twist | Adds texture and volume to hair |
| Four-strand braid | Intricate and detailed style |
| Cornrows | Versatile and long-lasting |
| Box braids | Protective style, low maintenance |
Ultimately, mastering different braiding techniques is essential in creating the perfect knotless braid blend. With various options available, you can experiment with different styles until you find the perfect one that suits your personality and style.
Furthermore, braids offer protective benefits making them a perfect hairstyle for those looking to protect their natural hair. By incorporating different braiding techniques and playing around with different colors and textures, you can achieve a stylish and protective hairstyle that’s perfect for any occasion.
Finishing Techniques
In this section, I’ll be discussing the finishing techniques for braids. Firstly, I’ll cover how to properly secure the ends of the braids to prevent them from unraveling.
Then, I’ll go over how to cut and style the braids to achieve the desired look. Lastly, I’ll share tips on how to maintain the braid blend to ensure they stay looking fresh for longer.
How to Secure the Ends of the Braids
To keep my braids looking neat and secure, I simply twist the ends and use a small rubber band to hold them in place. This ensures that the ends of my braids don’t unravel or get tangled throughout the day. However, it’s important to note that using rubber bands can cause damage to the hair if left in for too long, so I make sure to remove them after a few days and re-twist the ends.
To further prevent frizz and damage to the ends of my braids, I also like to use end-sealing methods. One option is to apply a small amount of oil or hair serum to the ends of the braids to seal in moisture and prevent frizz. Another option is to dip the ends of the braids in hot water for a few seconds, which helps to seal the cuticles and prevent split ends.
By taking these extra steps to secure and protect the ends of my braids, I can ensure that they stay looking great for as long as possible.
How to Cut and Style the Braids
Cutting and styling braids are a great way to add a new look to your hair without having to create an entirely new style. Once you have secured the ends of your knotless braids, you can start thinking about how to cut and style them to achieve your desired look.
When it comes to cutting techniques, it’s important to remember that braids should be cut at an angle to create a more natural look. This also helps to prevent the ends from fraying or unraveling.
To style your braids, you’ll need a few key tools. A wide-tooth comb can help you detangle your hair and separate your braids for easier styling. Hair oil or serum can also help to add shine and moisture to your braids, especially if you have a dry scalp.
Finally, a hair tie or clip can be useful for keeping your braids in place while you work on them. With these tools and a little creativity, you can easily transform your knotless braids into stylish and unique hairstyles.
| Cutting Techniques | Styling Tools |
|---|---|
| Cut at an angle | Wide-tooth comb |
| Create a natural look | Hair oil/serum |
| Prevent fraying/unraveling | Hair tie/clip |
By using the cutting techniques and styling tools listed in the table above, you can create a variety of different looks with your knotless braids. Whether you want a sleek, straight style or a more textured and voluminous look, there are endless possibilities for styling your braids.
Just remember to be gentle when cutting and styling your hair, and always use a heat protectant if you plan to use hot tools like a flat iron or curling wand. With a little practice and experimentation, you can find the perfect way to cut and style your knotless braids to suit your personal style and preferences.
How to Maintain the Braid Blend
Maintaining the braid blend can seem overwhelming, but with a little effort and some helpful tips, you can keep your braids looking fresh and fabulous.
To start, it’s important to maintain the longevity of your braids. This means avoiding excessive tugging, pulling, and sleeping without protecting your braids. Investing in a satin bonnet or pillowcase can do wonders for preserving your braids while you sleep.
In addition, regularly moisturizing your scalp and braids with a lightweight oil can help prevent breakage and keep your braids looking shiny and healthy.
Another important factor in maintaining the perfect braid blend is avoiding breakage. One key way to do this is by avoiding tight hairstyles and over-styling your braids. This means avoiding constant re-braiding or over-manipulating your hair.
Another helpful tip is to be gentle when washing your braids. Use a gentle shampoo and conditioner, and avoid rubbing your scalp too vigorously.
Finally, it’s important to take breaks between braid styles to give your hair a break and prevent over-stress on your hairline. With these tips in mind, you can maintain the perfect braid blend and keep your hair looking fabulous all season long.
Tips and Tricks
Get ready to learn some awesome tips and tricks to take your braid game to the next level! When it comes to creating the perfect knotless braid blend, color coordination is key. You want to make sure that the colors of the braiding hair you’re using blend seamlessly with your natural hair color.
A great way to do this is by selecting braiding hair that is a shade or two lighter or darker than your natural hair color. This will help to create a natural-looking blend that’s not too drastic.
Blending techniques are also important when creating the perfect knotless braid blend. One technique that works really well is mixing different hair textures. For example, if you have fine hair, you may want to use braiding hair that has a coarser texture to add some volume and dimension to your braids.
Additionally, you can use a latch hook to pull some of your natural hair through the braids, which will help to blend the braiding hair with your natural hair. With these tips and tricks, you’ll be able to create a knotless braid blend that looks natural and flawless.

Final Thoughts
Well, that’s it for my guide on creating the perfect knotless braid blend! I hope you found it helpful and informative.
Remember, it’s all about understanding hair textures, prepping the hair, choosing the right colors, sectioning the hair, and using the right braiding and finishing techniques. It takes a bit of practice and patience to achieve the perfect blend, but with these tips and tricks, you’ll be able to create a stunning and seamless look every time.
Don’t be afraid to experiment with different textures and colors to find the perfect mix for you. And most importantly, have fun with it! Happy braiding!
